
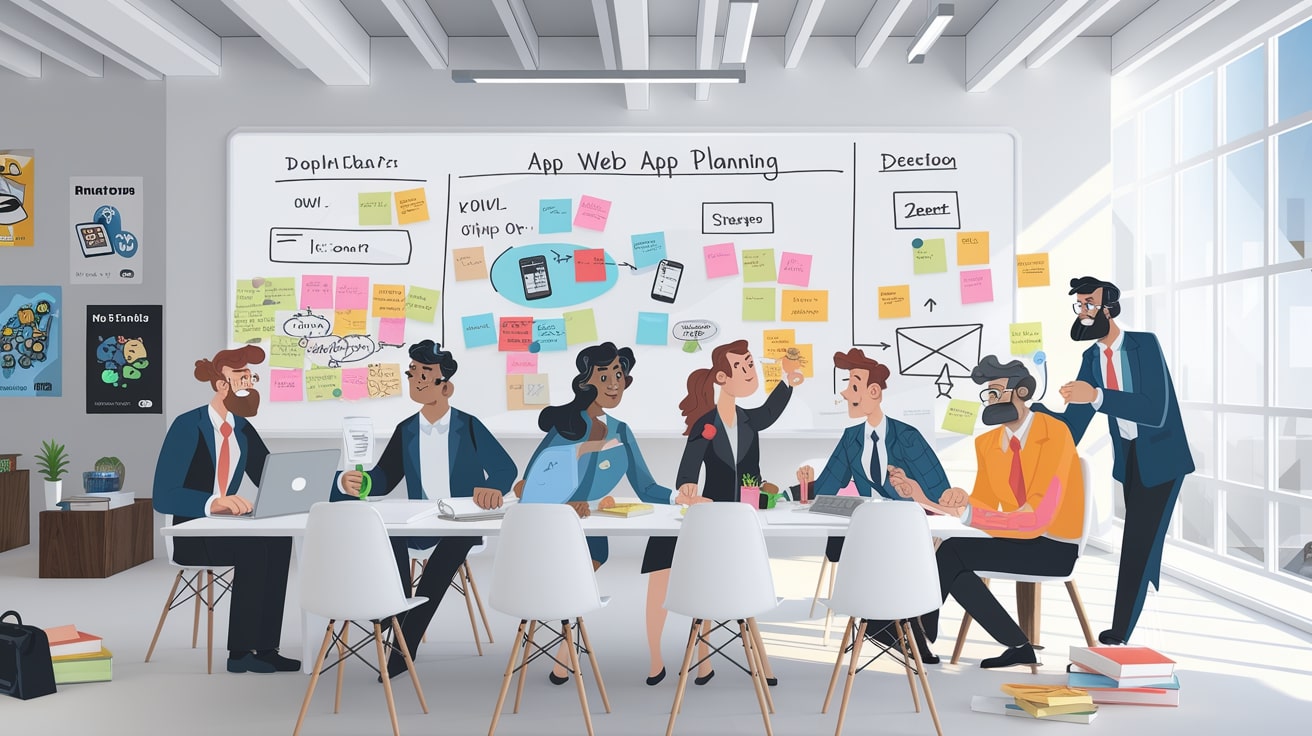
The complete guide to building your MVP website—even if you’ve never written a line of code.
You have a startup idea. You know you need to get it online. But staring at a blank screen wondering how to actually build an MVP website feels overwhelming.
Where do you even start?
Here’s the good news: you don’t need to be a developer to launch an MVP. Thousands of successful startups have been built by non-technical founders who figured out how to get their product online quickly and affordably.
This guide walks you through the exact process—step by step—to go from idea to launched MVP website.
What Is an MVP Website?
Before we dive into the how, let’s clarify what we’re building.
An MVP (Minimum Viable Product) website is the simplest version of your product that delivers value to users. It’s not a prototype, mockup, or demo—it’s a real, working product that people can actually use.
The key word is minimum. Your MVP website should include:
- Core functionality: The one thing that makes your product valuable
- Basic user experience: Clean enough that users aren’t confused
- Essential integrations: Payment processing, authentication, or other must-haves
It should NOT include:
- Every feature you can imagine
- Perfect design and polish
- Complex functionality that “might be useful someday”
- Features your competitors have (unless essential)
As Y Combinator advises: “Launch early and iterate.” Your MVP website is designed to learn, not to impress.
Step 1: Define Your Core Value Proposition
Before touching any tools, answer this question: What is the ONE thing your MVP must do well?
Not three things. Not five things. One thing.
Examples:
- Airbnb MVP: Let people list and book rooms online
- Dropbox MVP: Sync files across computers
- Twitter MVP: Post short public messages
Each of these companies had grand visions, but their MVPs did one thing. Everything else came later.
Exercise: The One-Sentence Test
Complete this sentence: “My MVP helps [target user] to [do one specific thing] so they can [achieve one outcome].”
If you can’t complete it in one sentence, your scope is too broad. Keep narrowing until you can.
Step 2: Choose Your MVP Type
Not all MVPs are the same. Choose the right type based on what you’re validating:
Landing Page MVP
Best for: Testing if people want your product before building it
What you build: A single page explaining your value proposition with an email signup or waitlist
Time to build: 1-3 days
Tools: Carrd, Unbounce, or any landing page builder
Concierge MVP
Best for: Service-based products where you can do the work manually first
What you build: A simple website + manual fulfillment behind the scenes
Time to build: 1-2 weeks
Tools: Website builder + manual processes
Wizard of Oz MVP
Best for: Products that appear automated but you handle manually
What you build: A functional-looking website where humans do what looks automated
Time to build: 2-4 weeks
Tools: Website builder + backend processes
Functional MVP
Best for: Products that require actual software functionality
What you build: A working web application with core features
Time to build: 2-8 weeks
Tools: No-code platforms, or custom development
Step 3: Select Your Tech Stack
The tools you choose depend on your technical skills and MVP complexity.
For Non-Technical Founders: No-Code Options
| Tool | Best For | Price | Learning Curve |
|---|---|---|---|
| Carrd | Simple landing pages | $19/year | Very easy |
| Webflow | Marketing websites | $14-39/mo | Medium |
| Bubble | Web applications | $29-119/mo | Steep |
| Softr | Portals, directories | $49-169/mo | Easy |
| Glide | Mobile-first apps | $25-99/mo | Easy |
For Technical Founders or With Developer Help
If you’re building something more complex, or plan to hire MVP developer, common stacks include:
- React + Node.js + PostgreSQL: Popular, scalable, lots of resources
- Next.js + Supabase: Fast to build, modern, great for MVPs
- Python + Django: Excellent for data-heavy applications
- Ruby on Rails: Battle-tested for startups, rapid development
Hybrid Approach
Many successful MVPs combine no-code tools for the frontend with simple backend services:
- Webflow for the marketing site
- Airtable for the database
- Zapier to connect everything
- Stripe for payments
Step 4: Plan Your Features
Now it’s time to decide exactly what your MVP website will do. Use the MoSCoW method:
Must Have
Features the MVP cannot launch without. Be ruthless—most founders include too much here.
Should Have
Important features that aren’t critical for initial launch. Add these in version 1.1.
Could Have
Nice-to-have features if time and budget allow. Usually saved for later.
Won’t Have (Yet)
Features explicitly excluded from MVP scope. Document these so you don’t forget them.
Example Feature List
For a simple marketplace MVP:
Must Have:
- User registration/login
- Create listing
- Browse listings
- Contact seller
Should Have:
- Search functionality
- User profiles
- Basic messaging
Could Have:
- Reviews and ratings
- Saved favorites
- Email notifications
Won’t Have (Yet):
- Payment processing (phase 2)
- Mobile app
- Advanced analytics
Step 5: Design Your User Flow
Before building anything, map out how users will move through your MVP website:
- Entry point: How do users arrive? (direct link, search, referral)
- First action: What’s the first thing they do? (sign up, browse, search)
- Core action: How do they get value? (book, purchase, create, connect)
- Completion: What happens after? (confirmation, next steps)
Sketch this out on paper or use a tool like Whimsical or Miro. It doesn’t need to be pretty—it needs to be clear.
Keep It Simple
Your MVP should have one primary user flow. If you’re designing multiple complex flows, you’re probably overbuilding.
Step 6: Build Your MVP Website
Now it’s time to actually build. Whether you build an MVP app yourself or hire help, a practical approach matters for non-technical founders:
Option A: Build It Yourself (No-Code)
Week 1: Setup & Structure
- Choose your no-code platform
- Set up your account and domain
- Create the basic page structure
- Set up user authentication (if needed)
Week 2: Core Functionality
- Build your primary user flow
- Set up your database/data storage
- Connect essential integrations
- Test with 2-3 friends
Week 3: Polish & Launch
- Fix bugs from testing
- Add essential content (copy, images)
- Set up analytics
- Launch!
Option B: Hire Help
If your MVP is too complex for no-code, or you’d rather focus on business development, consider professional help.
For MVP development for startups, expect:
- 2-4 weeks for a basic MVP
- $3,000-$10,000 for development
- Regular updates and demos throughout
The advantage: you get a professional product faster, while you focus on customers and business model.
Step 7: Set Up Essential Integrations
Most MVP websites need a few key integrations:
Analytics
You need to know how people use your product.
- Google Analytics: Free, full-featured, industry standard
- Mixpanel: Better for product analytics
- Hotjar: Heatmaps and session recordings
For transactional emails and marketing.
- SendGrid/Mailgun: Transactional emails
- Mailchimp/ConvertKit: Marketing emails
Payments (If Applicable)
- Stripe: Industry standard, easy to integrate
- PayPal: Familiar to consumers
Customer Support
- Intercom: Chat widget + help desk
- Crisp: Affordable alternative
- Simple email: Often sufficient for MVP
Step 8: Test Before Launch
Before going live, validate that your MVP actually works:
Functional Testing
- Click every button and link
- Fill out every form
- Test on different browsers (Chrome, Safari, Firefox)
- Test on mobile devices
User Testing
- Have 3-5 people try to complete your core user flow
- Watch them—don’t explain or help
- Note where they get confused or stuck
- Fix critical issues before launch
Technical Checklist
✅ Site loads in under 3 seconds
✅ Forms submit correctly
✅ Emails are delivered
✅ Payments process (if applicable)
✅ Error pages work
✅ SSL certificate is active (https)
Step 9: Launch Your MVP Website
Launch doesn’t need to be a big event. In fact, for an MVP, it shouldn’t be.
Soft Launch Strategy
- Friends and family: Share with 10-20 people you know
- Early waitlist: Email people who signed up for updates
- Small community: Post in one relevant online community
- Gather feedback: Actively ask users what’s working and what isn’t
What to Monitor
- Are people signing up?
- Are they completing the core action?
- Where are they dropping off?
- What questions are they asking?
Step 10: Iterate Based on Feedback
Your MVP website isn’t done at launch—it’s just beginning.
The Build-Measure-Learn Loop
- Build: Release a feature or improvement
- Measure: Track how users respond
- Learn: Decide what to do next based on data
- Repeat: Keep cycling weekly
What to Iterate On
- High drop-off points: Where are users leaving?
- Common support requests: What confuses people?
- Feature requests: What do users ask for?
- Conversion blockers: Why aren’t people completing the core action?
Common Mistakes When Building an MVP Website
🚫 Building Too Much
The #1 mistake. Your MVP should feel uncomfortably small. If you’re not slightly embarrassed, you waited too long.
🚫 Focusing on Design Over Function
Users care if your product works. They don’t care if it’s beautiful—yet. Polish comes later.
🚫 Not Talking to Users
Building in isolation is dangerous. Talk to potential users before, during, and after building.
🚫 Waiting for Perfect
Perfect is the enemy of shipped. Launch with 80% quality and iterate from there.
🚫 Ignoring Mobile
Over 50% of web traffic is mobile. Your MVP must work on phones.
When to Upgrade Beyond MVP
Your MVP website is meant to be temporary. Upgrade to a more robust solution when:
- You’ve validated product-market fit
- You’re hitting technical limitations
- You have revenue to invest in development
- User growth requires better infrastructure
At that point, consider working with startup MVP development professionals to rebuild on a scalable foundation.
Frequently Asked Questions
How long does it take to build an MVP website?
For a simple MVP using no-code tools, 2-4 weeks is realistic. For a custom-built MVP, expect 4-8 weeks depending on complexity.
Can I build an MVP website with no coding experience?
Yes. No-code tools like Bubble, Webflow, and Softr allow non-technical founders to build functional web applications. The learning curve varies, but most tools can be learned in 1-2 weeks.
How much does it cost to build an MVP website?
DIY with no-code: $50-$200/month in tool subscriptions. Hiring help: $3,000-$15,000 for a complete MVP depending on complexity.
What’s the difference between an MVP website and a landing page?
A landing page describes your product and collects interest (emails, signups). An MVP website is the actual product—users can experience the core value, not just read about it.
Should I use no-code or hire a developer for my MVP?
Use no-code if: your MVP is relatively simple, you have time to learn, and budget is tight. Hire a developer if: you need custom functionality, time is critical, or you’ll need to scale quickly after launch.
Building your MVP website? Share your progress or questions in the comments below—we read and respond to every one.